This is part 2 from the series “Creating website with wordpress”. In the previous tutorial we learned how to install wordpress and we took a look at the admin panel and the website home page. In this part we will continue explaining wordpress admin panel and all its various sections.
WordPress has an easy to use dashboard compared to Joomla and Drupal Content Management Systems. the dashboard enables you to control your website appearance, add content, create menus, change your theme, and much more so let’s begin.
WordPress Dashboard
First let’s navigate to the wordpress admin panel as we showed in the previous tutorial @ http://localhost/my-wordpress-site/wp-admin and enter your username and password.
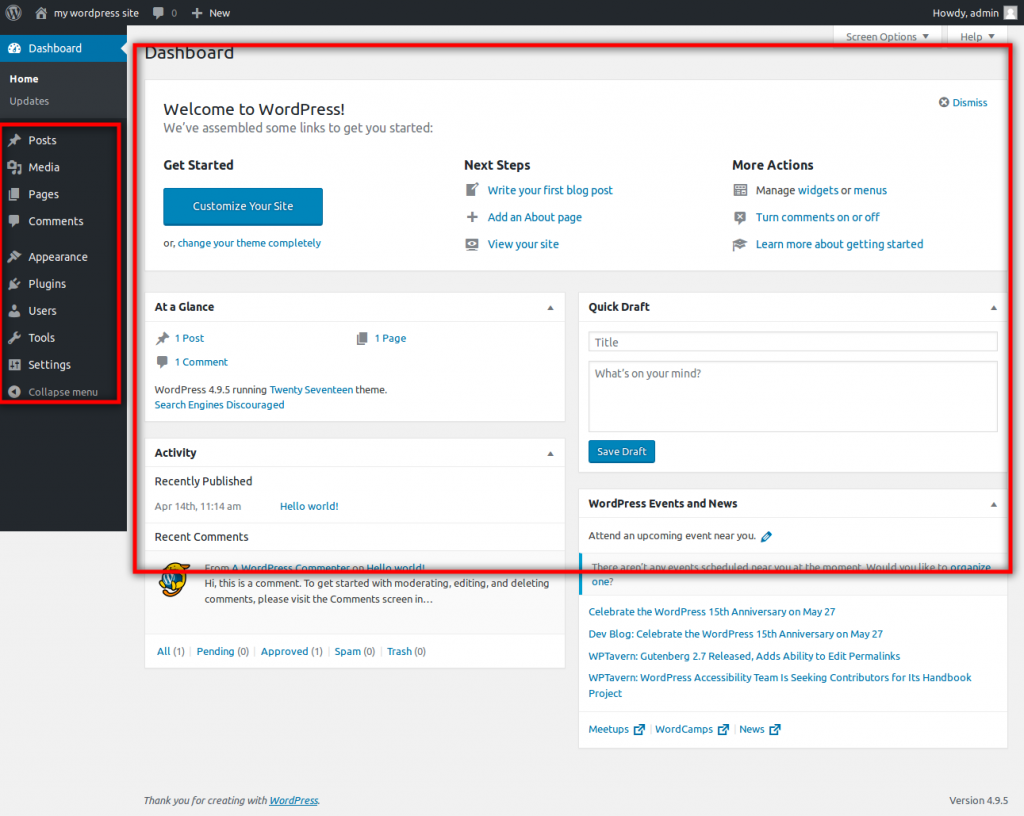
This is the dashboard sections:
-
Posts: This is the content section. here you add posts, categories, tags and any type of content.
- Media: This is the media library. here you upload photos, resize photos, and crop photos to be used in your posts.
- Pages: This is pages section and it much like posts section with a few differences.
- Comments: In this section you review the comments posted by your website visitors to be approved or not.
- Appearance: In this section you customize your website appearance. You can change your theme, control your theme logo, header, and footer. Also you can manage menus, add or remove widgets and much more.
- Plugins: In the section you can install new plugins, activate and deactivate plugins. we will take about plugins in much more detail later.
- Users: Here you can manage users, assign them to roles or assign them to specific privileges.
- Tools: In this section you can import or export content to your admin panel.
- Settings: This section enables you to control website settings like changing website timezone, changing your default homepage, your links structure or permalinks and much more.
Let’s look at every section in detail:
Posts:
This section control your website content. If you click at the “All Posts” this page will appear:

From the above image you can filter your posts, sort them and apply different actions to them. Let’s click on the “Add New” button.
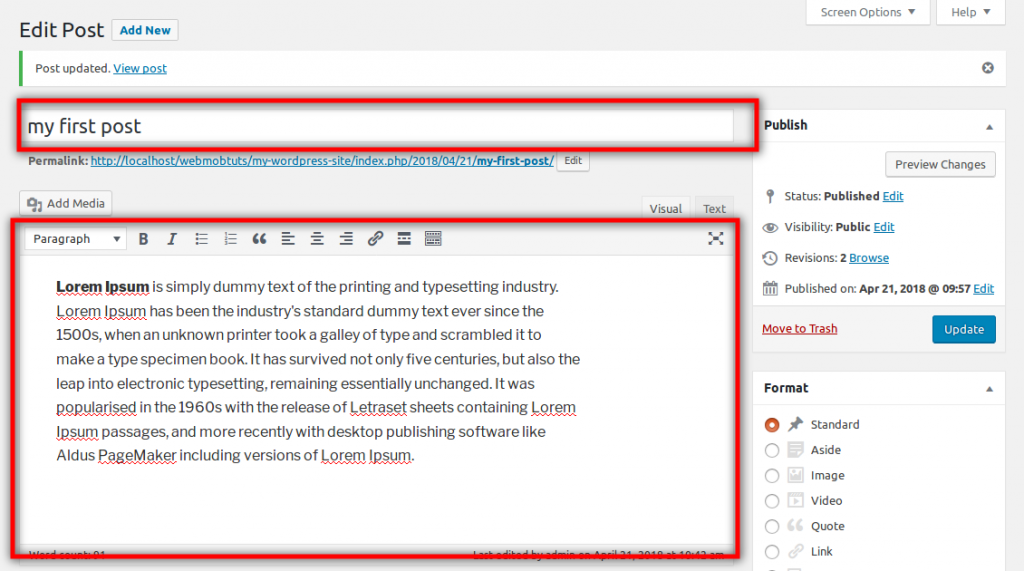
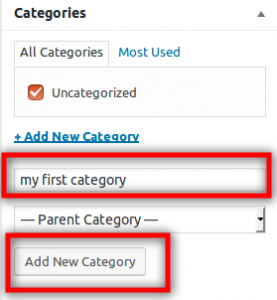
As shown in the image above we add the post title and some dummy content content then from the right side we assign a category or categories to the post. Note that there is one category named “Uncategorized” and this the default category when you install wordpress for the first time but you can add more categories by clicking on “Add New Category ” on the right side or from the categories page like this:
Also you can add a photo to your post to do this just scroll down the page you will find a section called “Featured image“. just click on set featured image a pop up will appear to select the featured image or upload a new one.
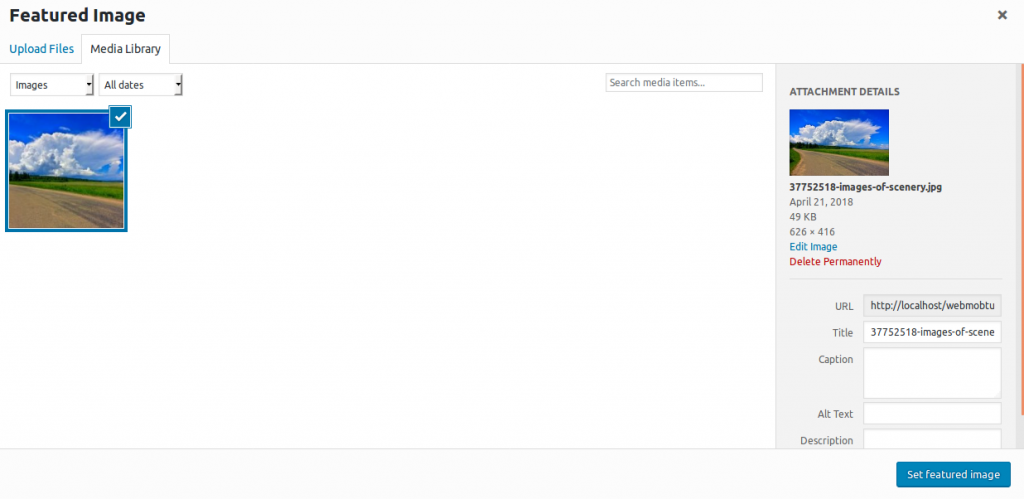
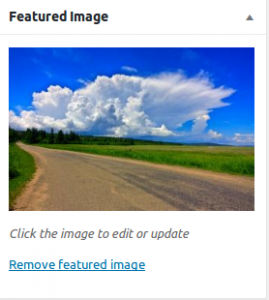
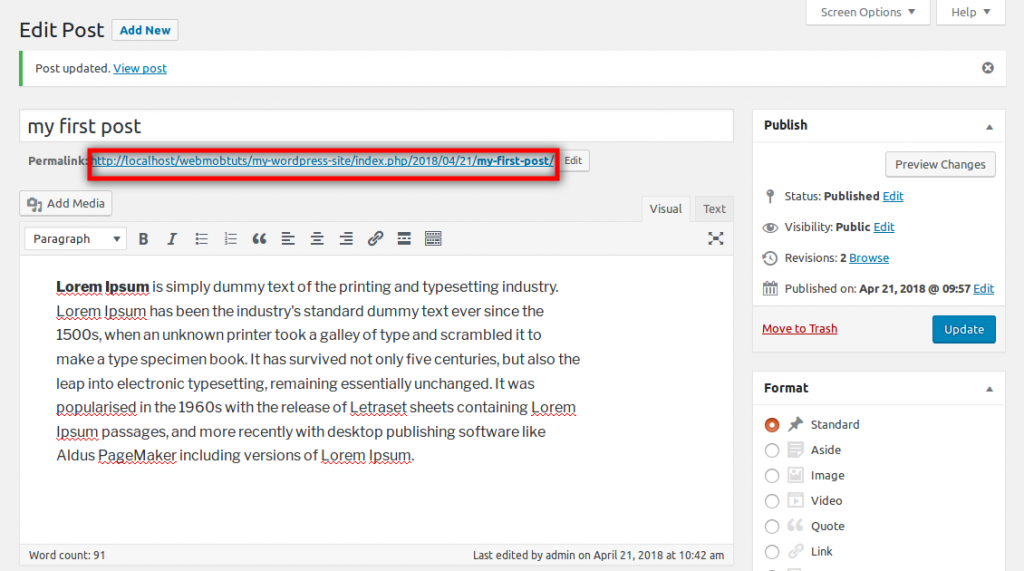
After choosing your featured image just click on “Publish” button on the top right side to save and publish your post then click on the post link to preview your post.
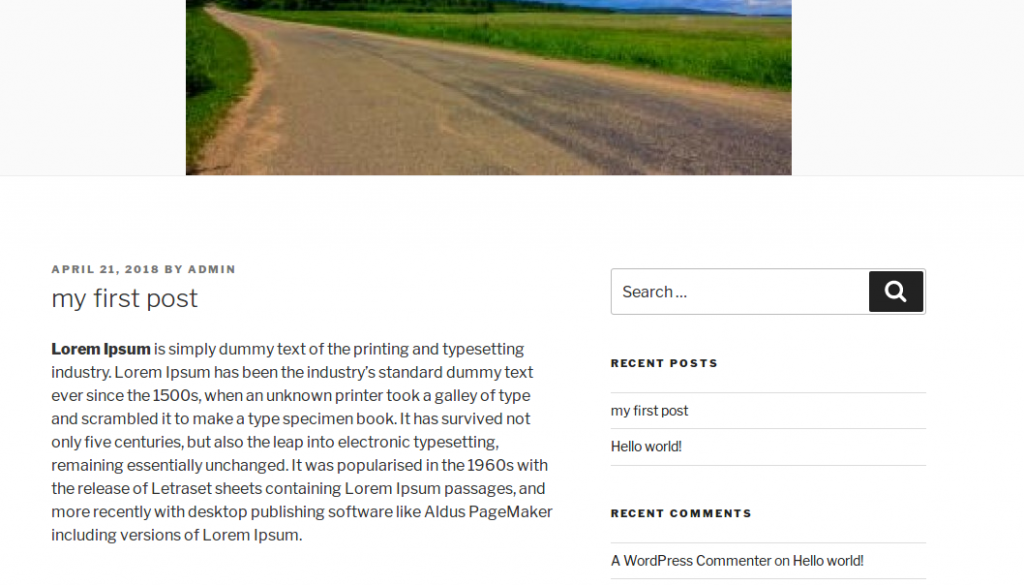
This is your post on the website
Media:
This is the place where wordpress store photos and media. Here you can upload photos, or choose from the existing photos to be added to your posts as a featured image like we showed above. Also you can control photo size, add title, description and caption to photos let’s click on Media section on the left sidebar.

When you click on the “Add New” button you can drag and drop more than one photo or by selecting them.
Pages:
This section enables you to add pages like for example when you need to add “contact” page for your company and its the same as adding posts except that pages aren’t assigned to categories and pages usually used when you need to display static content like some form or a description that isn’t usually changed.
Comments:
Your website visitors may add comments on your posts from the website front so those comments will be shown in this section so you can approve or disapprove comments, mark them as spam, edit them or delete them completely.

Conclusion
We learned in this tutorial how to use wordpress dashboard and we took a look at some dashboard modules. In the next tutorial we will take a look at two important sections which is themes and plugins and also will show to customize the appearance of your website to make it appear nicely styled.


