In this article we will explore the how to create admin panel using the Voyager laravel package for creating Admin Panels with a simple steps.
Admin Panels represent a basic component in every web application and the power of that application resides in the power of the Admin Panel and i don’t mean that powerful admin panels means that it’s too big and has a lot of modules in contrast powerful admin panels means the speed and flexibility of handling the CRUD operations and also the optimization of the Server side and client side code.
To handle all these complex operations we will use a laravel package called “Voyager” created by the control group and this is the official website at this url https://laravelvoyager.com/
This is a powerful package in all means and it has a lot of features such as :
- Module Management
- Roles and Permissions Management
- Database tables Management (CRUD, BREAD)
- Media Manager
- Menu Builder
- Multi language support
Laravel Support
Laravel Admin & Bread System support laravel from 5.4, 5.5, 5.6 and 5.7.
Installation
To install Voyager package you need to have a create a laravel project first then inside your project directory run this command using the composer:
composer require tcg/voyager
Next create a new database and modify your database credentials in the project .env:
DB_HOST=localhost
DB_DATABASE=homestead
DB_USERNAME=homestead
DB_PASSWORD=secret
Don’t forget to modify the App_URL with your project full url
APP_URL=http://localhost
For laravel 5.4 you have to add the service provider manually so open config/app.php and add TCG\Voyager\VoyagerServiceProvider::class, in the providers array like so:
<?php

'providers' => [
    // Laravel Framework Service Providers...
    //...

    // Package Service Providers
    TCG\Voyager\VoyagerServiceProvider::class,
    // ...

    // Application Service Providers
    // ...
],
Run the install command
There are two options to create the admin panel either with a dummy data or without. It’s preferable to run the command using the dummy data and delete it after that
To install Voyager without dummy data
php artisan voyager:install
To install Voyager with the dummy data
php artisan voyager:install --with-dummy
After successful installation navigate to http://your domain url/admin then login using the default credentials which are:
email:
admin@admin.compassword:
password
If you did not go with the dummy user, you may wish to assign admin priveleges to an existing user. This can easily be done by running this command:
php artisan voyager:admin your@email.com
If you wish to create a new admin user you can pass the --create flag, like so:
php artisan voyager:admin your@email.com --create
you will be asked to enter the user name and password.
When opening the dashboard homepage it will look like this:

Creating New Modules (BREAD)
Creating new modules or using Voyager BREAD (Browse, Read, Edit, Add, Delete) includes two steps first you need to create the database table along with it’s columns and relations then adding it to the menu.
What means BREAD:
- B (Browse): field will show up when you browse the current data
- R (Read): field will show when you click to view the current data
- E (Edit): field will be visible and allow you to edit the data
- A (Add): field will be visible when you choose to create a new data type
- D (Delete): doesn’t pertain to delete so this can be checked or unchecked
To create a new table go to Tools > Database > Create as shown in the below:

This is similar to the create table wizard in tools like PHPMyAdmin so you need to specify table name, whether to create model for this table, the required columns
After you add your columns and hit “Create New Table” you will be redirected to the same page like shown:

Next click “Add BREAD to this table” so that you customize the url slug, model namespace, controller name and other info.
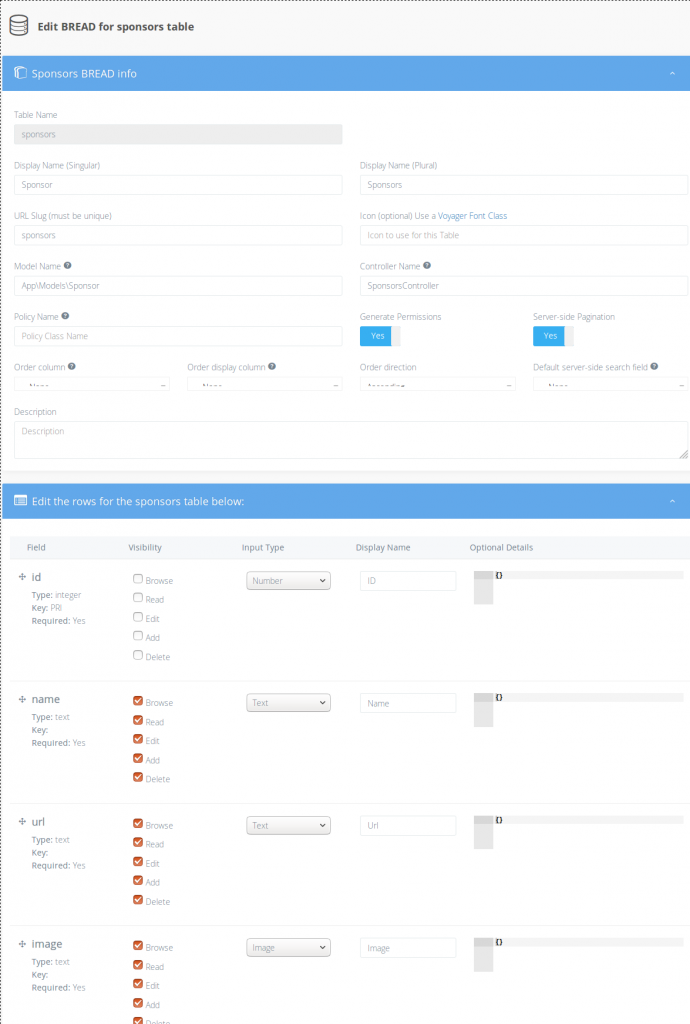
In the above image we specified the Display name, Url slug, Model, Controller, then specify the BREAD settings for each field for example the name field above marked with Browse, Read, Edit, Add, Delete so that it can be shown in the view, edit and create pages. In contrast the id and the timestamps fields marked to be hidden.
Adding Modules to the menu
Voyager admin panel makes it easy to create new menu and create menu items and display those menus the sidebar or footer or any where.
Let’s add the previously created menu to the sidebar menu. So navigate to Tools > Menu Builder. By default there is a menu already created which is the sidebar or admin menu so click on Builder as shown:

When clicking the builder you will see all the menu items displayed in hierarchical order similar to wordpress menu builder, this menu support drag and drop so that you can reorder items easily, so when you click on “Create Menu Item” you will see this modal:
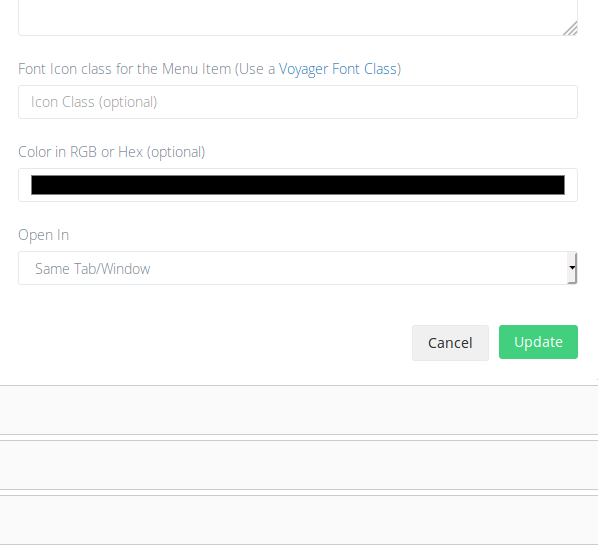
In this modal add the Title, link type (static, dynamic), if dynamic add the route, add the icon class if exist then click Add.
Further readings
We are not covered a lot of other features related to the Voyager Admin Panel, but we have refer you with the basics and you can read more at the official documentation here to know more about this package.