Pricing systems are a common requirement for SaaS platforms and subscription-based products. In this tutorial we will implement a dynamic pricing system in your laravel project.
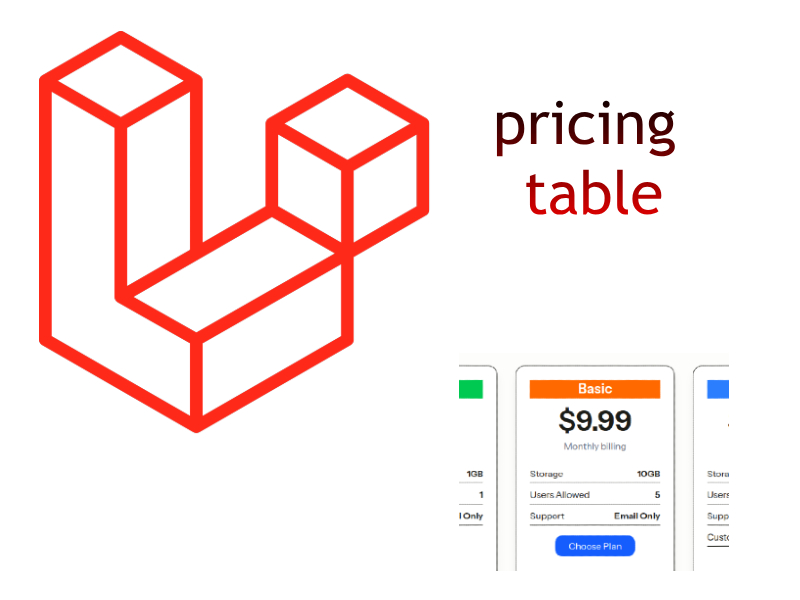
Many today web applications especially Sass-based applications have a pricing feature so that users can subscribe to in order to use the website features. To do so websites usually have a pricing page that contain a table list of packages or plans starting from the free plan to paid plans.
In this article we’ll walk through how to build a dynamic pricing system using Laravel, complete with database structure, models, controllers, and a front-end pricing table.
Step 1: Database Design
We’ll use three main tables:
- plans: stores plan details (e.g., name, price, billing cycle)
- features: lists all possible features (e.g., “Storage”, “Support”, etc)
- plan_features: defines which features belong to which plan.
┌──────────────────────┐          ┌──────────────────────┐
│       plans          │          │      features        │
├──────────────────────┤          ├──────────────────────┤
│ id (PK)              │          │ id (PK)              │
│ name                 │          │ name                 │
│ slug                 │          │ created_at           │
│ price                │          │ updated_at           │
│ billing_cycle        │          └──────────────────────┘
│ description          │
│ created_at           │
│ updated_at           │
└─────────┬────────────┘
          │ 1        N
          │
          │
┌─────────▼────────────┐
│    plan_features      │
├───────────────────────┤
│ id (PK)               │
│ plan_id (FK → plans)  │
│ feature_id (FK → features) │
│ value (feature detail)│
│ created_at            │
│ updated_at            │
└───────────────────────┘
Step 2: Models and Migrations
Create the table migrations and models with artisan:
php artisan make:model Plan -m
php artisan make:model Feature -m
php artisan make:migration create_plan_features_table
Run these commands in order, it will create the models and migrations for the previous tables (plans, features and plan_features).
Open each migration and populate with the below code:
__create_plans_table.php
return new class extends Migration
{
    /**
     * Run the migrations.
     */
    public function up(): void
    {
        Schema::create('plans', function (Blueprint $table) {
            $table->id();
            $table->string('name');
            $table->string('slug')->unique();
            $table->decimal('price', 10, 2)->default(0);
            $table->enum('billing_cycle', ['monthly', 'yearly'])->default('monthly');
            $table->string('description')->nullable();
            $table->timestamps();
        });
    }

    /**
     * Reverse the migrations.
     */
    public function down(): void
    {
        Schema::dropIfExists('plans');
    }
};
__create_features_table.php
return new class extends Migration
{
    /**
     * Run the migrations.
     */
    public function up(): void
    {
        Schema::create('features', function (Blueprint $table) {
            $table->id();
            $table->string('name');
            $table->timestamps();
        });
    }

    /**
     * Reverse the migrations.
     */
    public function down(): void
    {
        Schema::dropIfExists('features');
    }
};
__create_plan_features_table.php
return new class extends Migration
{
    /**
     * Run the migrations.
     */
    public function up(): void
    {
        Schema::create('plan_features', function (Blueprint $table) {
            $table->id();
            $table->foreignId('plan_id')->constrained('plans')->cascadeOnDelete();
            $table->foreignId('feature_id')->constrained('features')->cascadeOnDelete();
            $table->string('value')->nullable();
            $table->timestamps();

            // Prevent deuplicates
            $table->unique(['plan_id', 'feature_id']);
        });
    }

    /**
     * Reverse the migrations.
     */
    public function down(): void
    {
        Schema::dropIfExists('plan_features');
    }
};
Before migration open .env and change DB_CONNECTION=mysql:
.env
DB_CONNECTION=mysql
DB_HOST=127.0.0.1
DB_PORT=3306
DB_DATABASE=dynamic_pricing_system_laravel
DB_USERNAME=<db-user>
DB_PASSWORD=<db-password>
Next run the migrate artisan command:
php artisan migrate
Open the app/Models/Plan.php model and update like so:
<?php

namespace App\Models;

use Illuminate\Database\Eloquent\Model;

class Plan extends Model
{
    protected $fillable = ['name', 'slug', 'price', 'billing_cycle', 'description'];

    public function features()
    {
        return $this->belongsToMany(Feature::class, 'plan_features')
                        ->withPivot(['value'])
                        ->withTimestamps();
    }
}
For mass assignment, i added the $fillable property and the features() relationship.
Let’s do the same for app/Models/Feature.php:
<?php

namespace App\Models;

use Illuminate\Database\Eloquent\Model;

class Feature extends Model
{
    protected $fillable = ['name'];

    public function plans()
    {
        return $this->belongsToMany(Plan::class, 'plan_features')
                    ->withPivot(['value'])
                    ->withTimestamps();
    }
}
Step 3: Seeding the Data
Create a custom seeder to insert some pricing data:
php artisan make:seeder PricingSeeder
database/seeders/PricingSeeder.php
<?php

namespace Database\Seeders;

use App\Models\Feature;
use App\Models\Plan;
use Illuminate\Database\Seeder;

class PricingSeeder extends Seeder
{
    /**
     * Run the database seeds.
     */
    public function run(): void
    {
        $features = [
            'Storage',
            'Users Allowed',
            'Support',
            'Custom Domain'
        ];

        foreach ($features as $name) {
            Feature::create(['name' => $name]);
        }

        $plans = [
            [
                'name' => 'Free',
                'slug' => 'free',
                'price' => 0.00,
                'billing_cycle' => 'monthly',
                'features' => [
                    'Storage' => '1GB',
                    'Users Allowed' => '1',
                    'Support' => 'Email Only'
                ]
            ],
            [
                'name' => 'Basic',
                'slug' => 'basic',
                'price' => 9.99,
                'billing_cycle' => 'monthly',
                'features' => [
                    'Storage' => '10GB',
                    'Users Allowed' => '5',
                    'Support' => 'Email Only'
                ]
            ],
            [
                'name' => 'Pro',
                'slug' => 'pro',
                'price' => 29.99,
                'billing_cycle' => 'monthly',
                'features' => [
                    'Storage' => '100GB',
                    'Users Allowed' => '10',
                    'Support' => 'Email & Chat',
                    'Custom Domain' => 'Yes'
                ]
            ],
        ];

        foreach ($plans as $planData) {
            $plan = Plan::create([
                'name' => $planData['name'],
                'slug' => $planData['slug'],
                'price' => $planData['price'],
                'billing_cycle' => $planData['billing_cycle']
            ]);

            foreach ($planData['features'] as $featureName => $value) {
                $feature = Feature::where('name', $featureName)->first();
                $plan->features()->attach($feature->id, ['value' => $value]);
            }
        }
    }
}
Run the seeder:
Step 4: Display Pricing In The UI
First create the pricing controller:
php artisan make:controller PricingController
app/Http/Controllers/PricingController.php
<?php

namespace App\Http\Controllers;

use App\Models\Plan;
use Illuminate\Http\Request;

class PricingController extends Controller
{
    public function index()
    {
        $plans = Plan::with('features')->get();
        return view('pricing.index', compact('plans'));
    }
}
Register the route:
In the next part we will add a simple dashboard to manage plans, you can skip this or continue to part 2


