
In this series we will create a website with wordpress step by step from installation to deployment on remote domain. WordPress is built on top of the php language so you need to have previous knowledge with php to start using it.
For this part of the series we will install and prepare wordpress as wordpress is well-known for its ease of installation and it has a nice install wizard to simplifies the install process.
Requirements:
- Web server with apache or IIS.
- Text editor or any IDE that you prefer.
- Knowledge with php programming (required if you need to modify things by code).
- Mysql databases.
- Ftp client.
- Web browser.
Downloading:
the first thing you need to do is to download wordpress so go to wordpress download page and download the latest release.

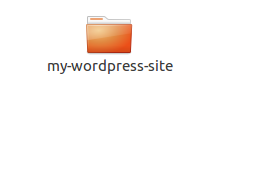
After downloading the file extract the archive into your local server path and rename it to “my-wordpress-site” or any name you like without having spaces in the name.
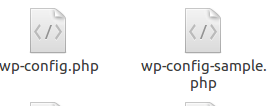
Go to “my-wordpress-site” install folder and copy the file named “wp-config-sample.php” to “wp-config.php”.
Then in your web browser go to http://localhost/my-wordpress-site you will see the getting started screen.
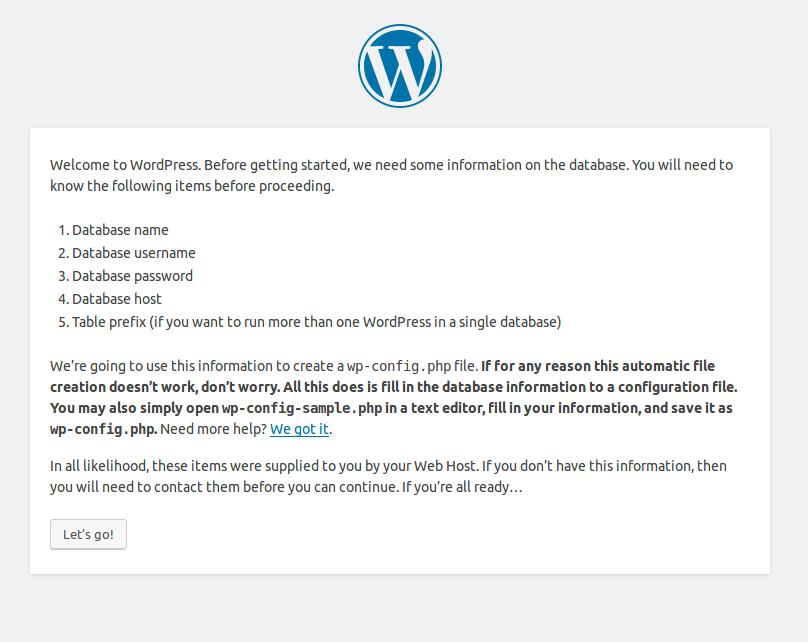
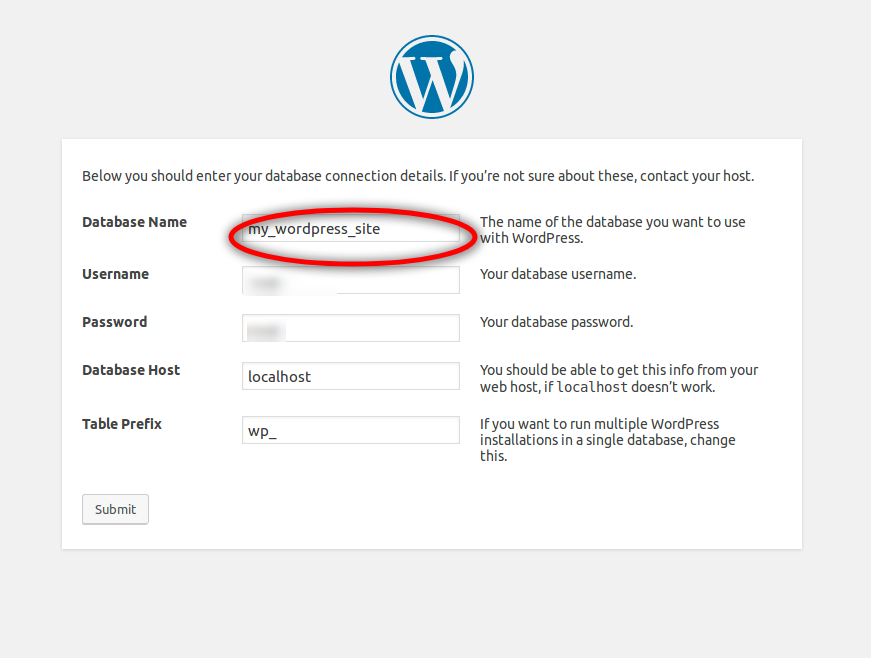
Click on the “Let’s go” button and you will see the next page that requests the database details so let’s create them first on phpmyadmin.

Return to the wordpress installation and fill in the database details and click on submit button to continue.
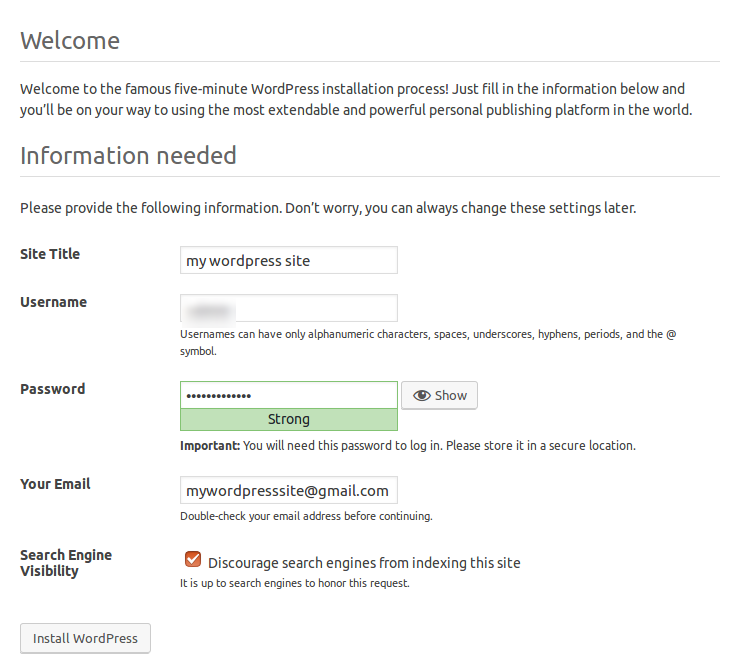
After that you will see the welcome page here you need to fill a few details for your website like site title, username and password for the admin panel and your email address then click “install wordpress” which will take you to the final step.
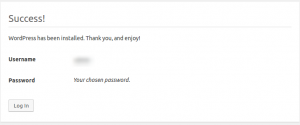
Congratulations this is the final step of the installation so let’s press the “Log in” button which will take you to the admin panel login page.
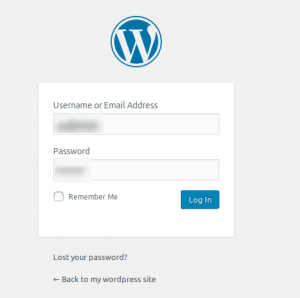
Type in the login details that you just created in the previous steps and click login you will see the dashboard. This is your website admin panel that you will use to manage your website.
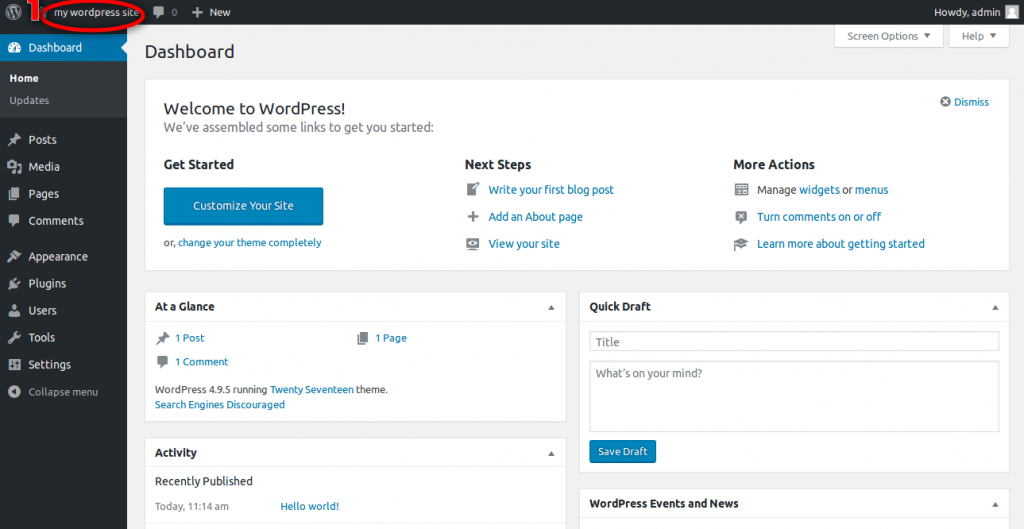
To view your website home page click on the top link on the dashboard that has the homepage icon with red mark in the image above.
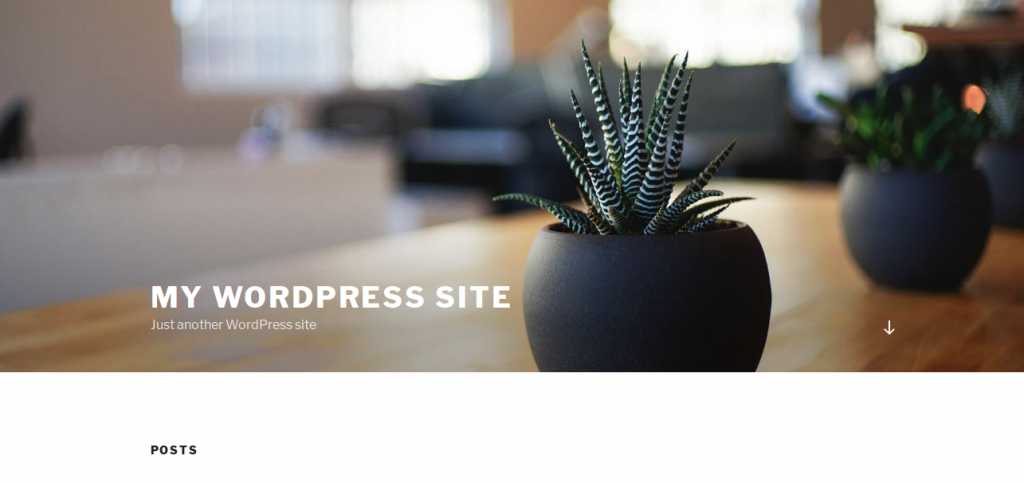
As you see this is the homepage with the default theme that come with wordpress.
Conclusion
In this part we talked about the first steps of using wordpress and how to install it. In the next part of the series we will take a look at the admin panel and all of its sections, how to create categories and posts, how to change your theme, and how to customize wordpress through plugins.


