In this tutorial we will continue our series of “Creating website with wordpress”. In the previous lessons we talked about wordpress installation and the admin panel. These are the links for (part1, part2).
Appearance
This section is responsible for customizing your website look and style and it have many subsections as shown below
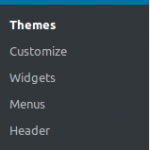
In the themes section you can see your selected theme and also you can change it and there are many ways to do this either by searching on the WP store or by uploading theme you already downloaded or purchased.

let’s click on “Add New” button on the theme page and just for demonstration we will search in the WP store for a theme called “Business Point” as shown. Note that this requires internet connection to work.
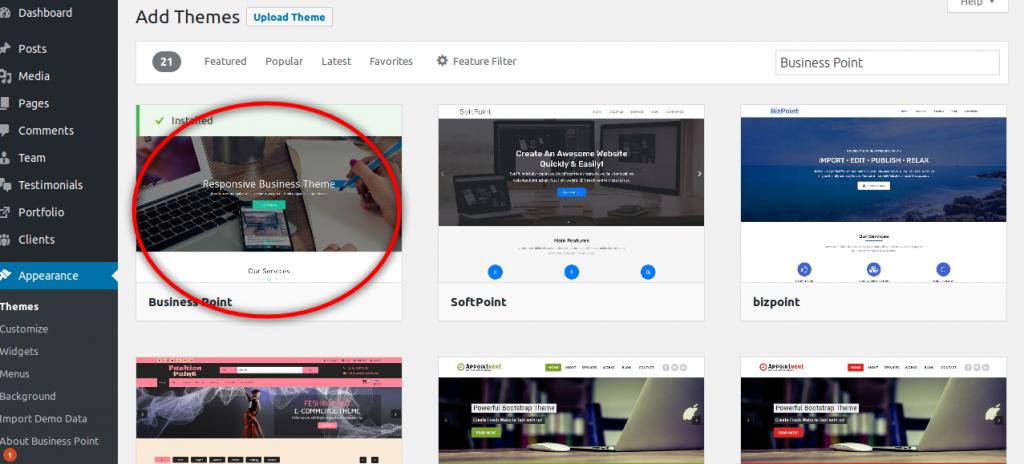
wordpress theme upload
Go to the highlighted theme above and click “install”. Note that in some cases this will ask you about the Ftp details in that case you must have valid ftp settings to download the theme or you can download the theme manually and place it in the wp_folder_name/wp-content/themes/.
After successfull install there is a small tip will be shown above that it will ask you to install the required plugins for this theme as shown:

Just click on “Begin activating plugins“:

wordpress install theme plugins
After installing your theme there are new sections appear on the sidebar of the dashboard let’s click on Appearance again and click on import demo data section. This will enable us to import dummy data to be able to look at your theme and see all sections of it. Click Import Demo Data button and wait some minutes until it finishes as shown below:
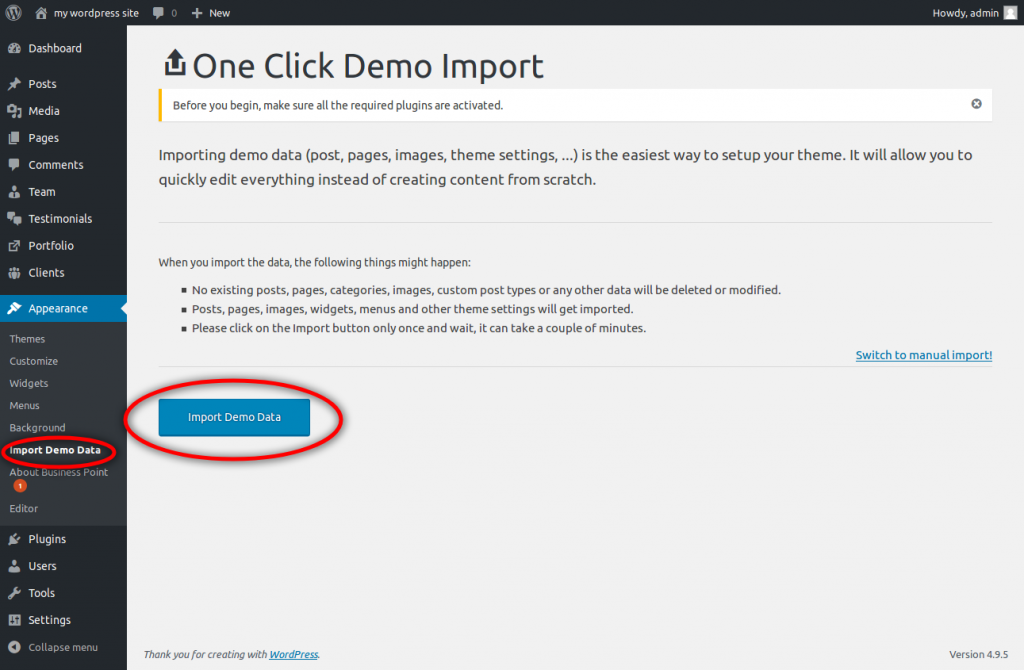
wordpress import demo data
After import finishes let’s visit our website again by clicking on the top link “visit site“. good job our website now appears with all the demo data.
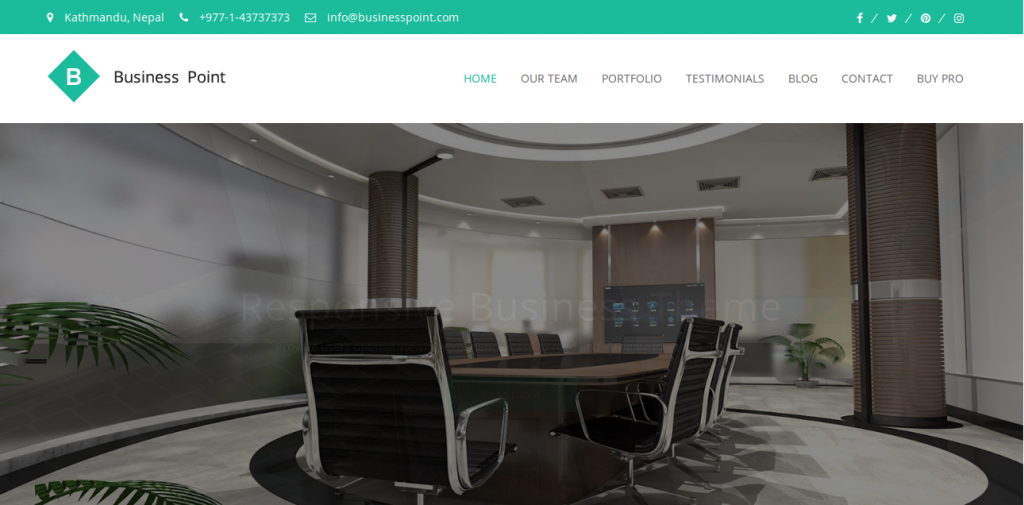
wordpress theme preview
Navigate into the site pages and see how greet the import data plugin is. WordPress provide different importers to enable website authors to grab dummy content and then editing it instead of begging from scratch.
Customization:
Now it’s time to customize your theme. Every wordpress theme has a customization page that handles all options of altering site layout and style but in the case of our theme we will do this through customizer.
Navigate to Appearance->Customize this will open the customizer page along with sidebar panel to customize several sections of your site as quickly as possible as shown in the video below:
Now What about customizing homepage sections. You can do this also through customizer.
Navigate to Appearance->Customize->Widgets->Homepage Widget Area and select the section that you want to edit as shown in this video.
Now how can we customize the inner pages content. You can do this through the pages and posts sections.
Customization inner pages:
Navigate to Pages->All Pages and click on any page you need to edit as shown in this video:
As described in the video above some pages contain what we called “Shortcodes“. Shortcodes allows wordpress to inject some code into content. This can be a form, sliders, any custom section. WordPress makes extensive use of shortcodes.
Conclusion:
We learned in this tutorial how to how to customize our website by changing our theme. There many themes in the WP store either free or paid. Also we showed how to import dummy data to help us see our website during development and how to modify any section of the website. In the next tutorial of this series we will look at the plugins and how to download and enable them.


